To trouble shoot a PICkit2, a multimeter, a frequency measurement tool and a oscilloscope might be needed.
The tool showed in this article is a Craftman Auto-ranging multimeter 82139, which has a voltmeter function and a frequency counter function. It can also measurement the signal high level percentage of a square ware. The multimeter 82139 is available at local Sears stores.
1. After launch the "PICKit 2 programmer" software, Click "Tools/Troubleshoot" as shown in figure 1.

3."PICkit 2 Troubleshooting Step 1: Verify VDD" window shows up (figure 3):

4.Verify VDD
4.1.Type "4.5", click "Test" button, PICkit 2 Troubleshooting window will display "Results 4.4V" and a "Test Passed" message (figure 4-1).
You can also verify the voltage by using volt meter to measure the voltage of VDD (pin2 +, pin3 - ) at 4.49V (figure 4-2).
 4.2.Type "2.5", click "Test" button, "Results 2.5V" displays, volt meter reads VDD (pin2 +, pin3 -), at 2.506V (figure 4-3).
4.3.Type "3.3", click "Test" button, "Results 3.3V" displays, volt meter reads VDD (pin2 +, pin3 -), at 3.325V (figure 4-4). Click Next to test VPP.  Note: The last test value of VDD will affect the test result of PGC and PGD on step 6.
4.4."PICkit 2 Trouble shooting CAUTION" window displays (figure 5), click "Next", "PICkit 2 Troubleshooting Step 2: Verify VPP" window displays (figure 6)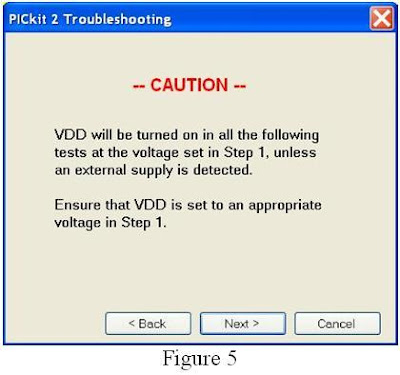
 5.Verify VPP
5.1.Click "Test VPP" button, VPP test result displays "11.9 V", and a "Test Passed" message displayed (figure 7-1).
You can also use volt meter reads VPP (pin 1+, pin 3-) at 11.91V (figure 7-2)
 5.2.Click "MCLR On" button, volt meter measures (Pin1 +, pin 3- ) at a few mV (Figure 8-1 shows 6.5 mV).
5.3.Click "MCLR Off" button, volt meter measures (Pin1 +, pin 3- ) at an indeterminate voltage (figure 8-2 shows about 36.2 mV). Click "Next" 6.Verify PGC + PGD
6.1."PICkit 2 Troubleshooting/Step 3: Verify PGC + PGD" window displays (figure 9)
 6.2.Under PGD/ICSPDAT:
6.2.1.Click “Toggle 30KHz” button, , the frequency should read about 29.91 kHz (pin 4 + Pin 3-, figure 10-1), frequency % reads about 45.2% (figure 10-2), voltage reads about 1.724V (figure 10-3)
6.2.2. Click “High (VDD)” button, volt meter reads the voltage at 3.317 volt (figure 10-4),
Note: these voltage values (figure 10-3 and 10-4) maybe different depends on the last test value of VDD (see step 4).
6.2.3. Click “Low (GND)” button, volt meter reads the voltage at a few mV (picture not shown).
 6.3.Under PGC/ICSPCLK:
6.3.1. Click “Toggle 30KHz” button, the frequency should read about 29.91 kHz (pin 5 + Pin 3-, figure 11-1), frequency % reads about 45.4% (figure 11-2), voltage reads about 1.73V (figure 11-3) 6.3.2. Click “High (VDD)” button, volt meter reads the voltage at 3.309 volt (figure 11-4). Note: these voltage values (figure 11-3 and 11-4) maybe different depends on the last test value of VDD (see step 4).
6.3.3. Click “Low (GND)” button, volt meter reads the voltage at a few mV (picture not shown).
7.Click "Finished" button to close PICkit 2 Troubleshooting window.
No comments:
Post a Comment
Any comments, suggestion, idea? Please posted here.